
Writing fiction can feel overwhelming, especially when juggling characters, plotlines, and that endless draft. If you’ve ever wondered how to use Scrivener, you’re in the right place. This post is a guide for fiction templates in Scrivener that simplifies things so you can write with clarity and creativity.
1. Choosing the Right Fiction Template
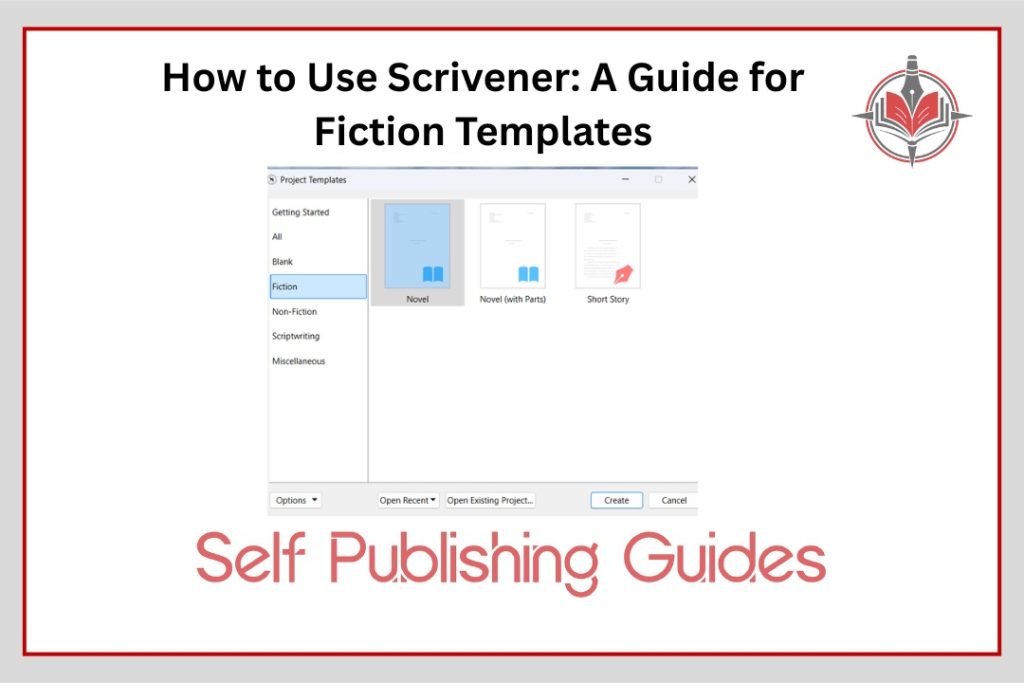
When starting a new project, launch Scrivener and opt for a fiction layout, like “Novel (Fiction Template).” This gives you a structured head start tailored for stories. Knowing how to use Scrivener begins with picking a solid foundation from its templates.

2. Organizing Acts, Chapters, and Scenes
Inside your chosen fiction template, begin setting up your narrative structure. Build folders for acts, subfolders for chapters, and documents for individual scenes. Organizing your story this way is part of a guide for fiction templates; it keeps you orderly and nimble as your manuscript grows.

3. Switching Among Key Views
Scrivener offers different perspectives: the Draft view for writing, the Corkboard for visual planning, and the Outline for a structural overview. On Mac, toggle them with Command-1, -2, and -3; on Windows, it’s Control-1, -2, and -3. The process of becoming a Scrivener expert is knowing when to switch between these views to suit your workflow.

4. Customizing Your Formatting Defaults
Got strong preferences for font, spacing, or layout? Set your preferred look in Scrivener (Format → Paragraph → Tabs and Indents / Line and Paragraph Spacing), then apply ‘Make Formatting Default‘ so new scenes automatically follow your style. This customization is essential in a guide for fiction templates.


5. Keeping Notes Handy
The Notes or Synopsis panel lets you jot down ideas or reminders right next to your scene. Click the ‘i icon to toggle it on. If you don’t want to lose a phrase or insight but aren’t sure where it fits yet, drop it into Notes. Learning how to use Scrivener this way keeps your writing both clean and creative.

6. Using Snapshots to Save Versions
Before making any significant alteration to a scene, one must take a snapshot (by clicking on the camera button or i icon). That way, you can revisit earlier drafts or undo changes if needed. This feature is a smart tip in a guide for fiction templates, and a safety net for your creativity.

7. Adding Color through Labels
Label your scenes with colors, green for done, orange for revisions, or any hues that reflect progress or point-of-view shifts. Make those colors appear in your Binder view via View → Use Label Color In → Show as Background. Understanding how to use Scrivener with color-coding enhances both clarity and inspiration.


8. Following Your Story via Timeline
If you’ve assigned colors to scenes or character arcs, bring them into Scrivener’s Timeline feature. You will see a visual progression of your story, great for complex, multi-POV narratives. This visual tool fits right into a guide for fiction templates by helping map pacing and structure.

9. Icons to Label Your Scenes
Add scene-specific visual cues, like a pencil for the main thread, a bomb for suspense, or other icons via “Change Icon.” This helps you track subplots and key moments at a glance. Icons are a nifty part of how to use Scrivener intuitively.

10. Setting and Tracking Writing Targets
Have your topics and deadlines for the full draft and daily writing sessions edited from the bullseye icons. Track your progress as you go, which is both reassuring and motivating. Incorporating writing targets is one more feature to include in a guide for fiction templates.

11. Checking Your Writing History
Navigate to Project → Writing History to review your word counts by day or month. This helps you identify your most productive periods, whether you are drafting or revising. It’s a smart way to see how you use Scrivener over time (and yes, that counts as part of how to use Scrivener).


12. Organizing Characters via Keywords
Tag characters, settings, or themes with keywords (in the Metadata panel). Later, search by keyword to pull up all related scenes; this is super helpful in complex manuscripts. This neat trick belongs firmly in a guide for fiction templates.

13. Generating Character Names
Stuck on what to name someone? Use Scrivener’s Name Generator (Edit → Writing Tools → Name Generator). You can filter by gender, origin, rarity, and even get alliterative names for that lyrical feel. This tool is a creative perk for using Scrivener.


14. Viewing Two Pages Side-by-Side
For parallel comparisons or catching consistency, toggle into Two-Page View. To revert, switch back to single-page. Host an easy stage party with your Scrivener window, and yes, it’s another way to use Scrivener effectively.

15. Compiling Your Manuscript
You have written your draft; now compile it. Go to File → Compile, select which acts, chapters, scenes, and front matter to include. Assign section types (e.g. Front Matter, Part Heading, Chapter Heading, Scene), pick layouts, preview in PDF, then export. This final step wraps up a guide for fiction templates and teaches you how to use Scrivener for submission-ready drafts.


Final Thoughts
If you have been wondering how to use Scrivener, this exploration of a guide for fiction templates walks you from blank page to polished manuscript. With structure, labeling, notes, snapshots, and powerful exporting tools, Scrivener is your fiction-writing sidekick, ready to help you write your story, your way.
Let me know if you’d like me to spotlight any feature more deeply or tailor this to a specific novel style or genre!